- Dashboard
- General reports
- Closed loop
- Weighted mean widget
- Push metrics
- Share dashboard link
- Sentiment and root cause analysis
- NPS Benchmark
- Priority Matrix
- Heatmap Widget
- NPS
- Designing CX Dashboard
- Sentiment Analysis Details
- Share Dashboard
- Enable Dashboard on Portal
- Custom Metrics
- Survey Resting Period
- Custom Metrics - Grid Widget
- CX Dashboard Sorting
CX Customer Experience
CX stands for Customer Experience. CX is the sum of all the interactions that a customer has with a company over the course of the time and the customer's feelings, emotions, and perceptions of the brand over the course of those interactions. The interaction can span from the in-store experience to the call-center and digital interactions, which can include in-app, mobile, desktop and tablet experiences. Lets say you have a chain of restaurants, and you wish to conduct surveys on customer satisfaction. CX will help you not just conduct the survey, but also flag which store is got the least satisfaction and why. This will help you focus on that particular restaurant and plan your business strategy accordingly.
Let us say for example, you have a chain of restaurant, and there are various ways the customer can place an order:
- Place the order on your website
- Walk in and place the order
- Place the order on app
Using QuestionPro CX, you can add a survey on each node of transaction, and understand the customer experience at that point. Below are the different types of surveys you can add:
- Place the order on your website: Add Intercept
- Walk in and place the order: Add Email

In CX, there are 5 primary navigation menus, which consists of various sub-menus. The five primary navigation menus are:
- Surveys: It displays the list of various types of surveys you have created in the feedback.
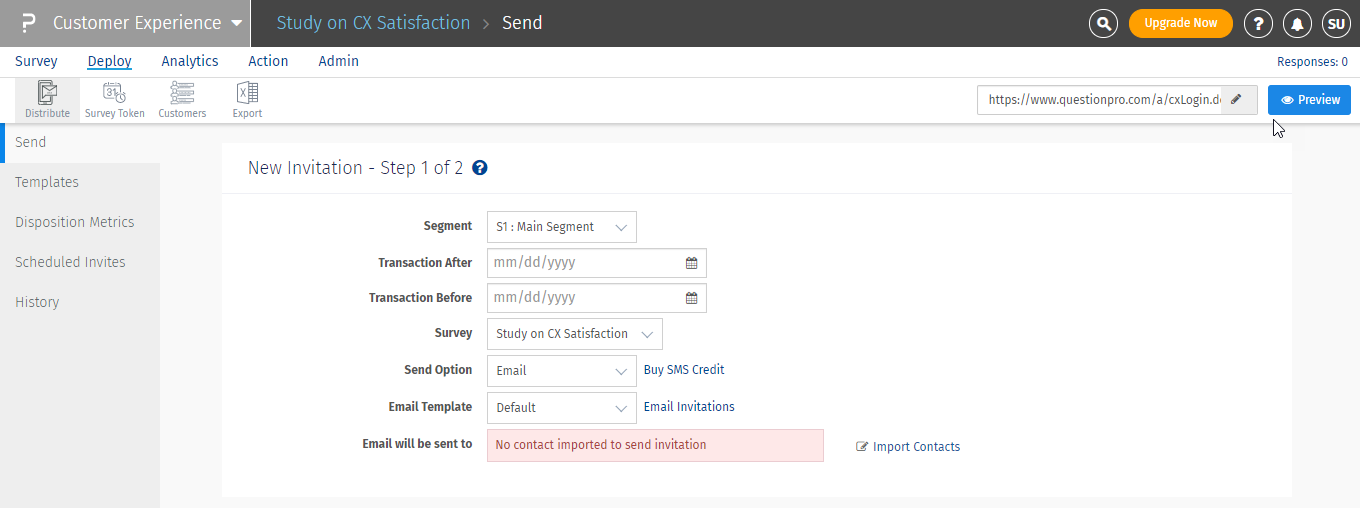
- Deploy: It consists of various options to deploy a survey to your customers.
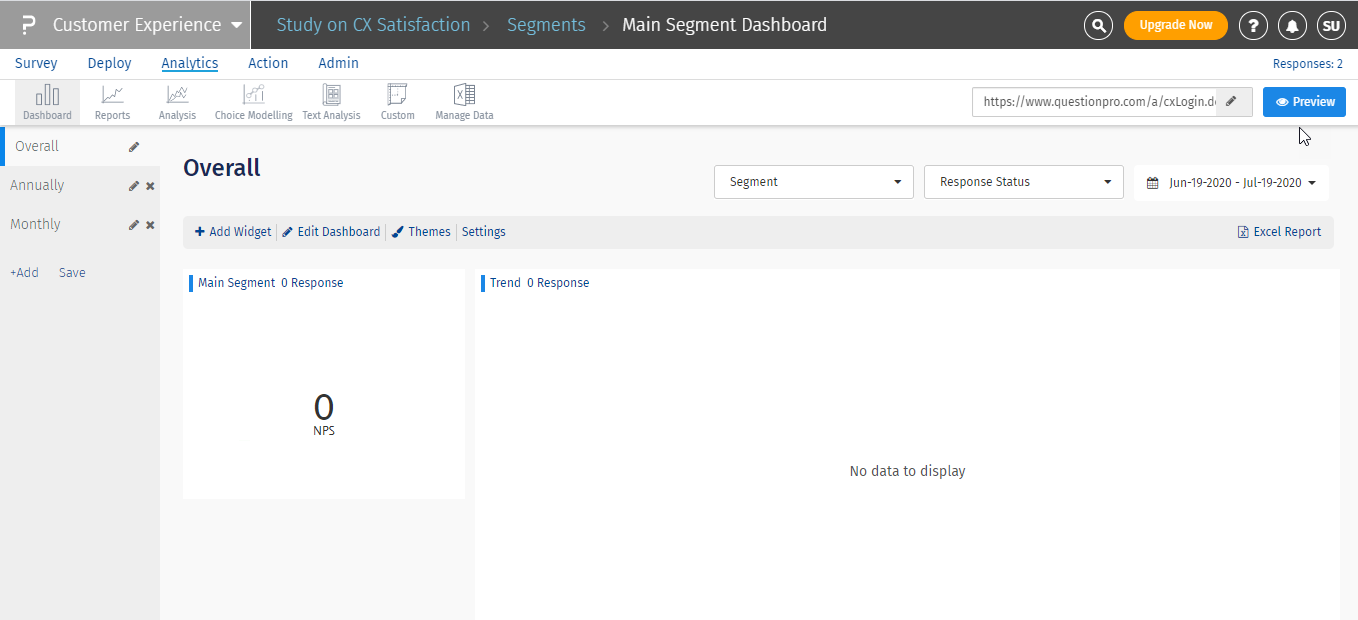
- Analytics: It takes you to view the CX dashboard, where you can add multiple widgets and analyse the data.
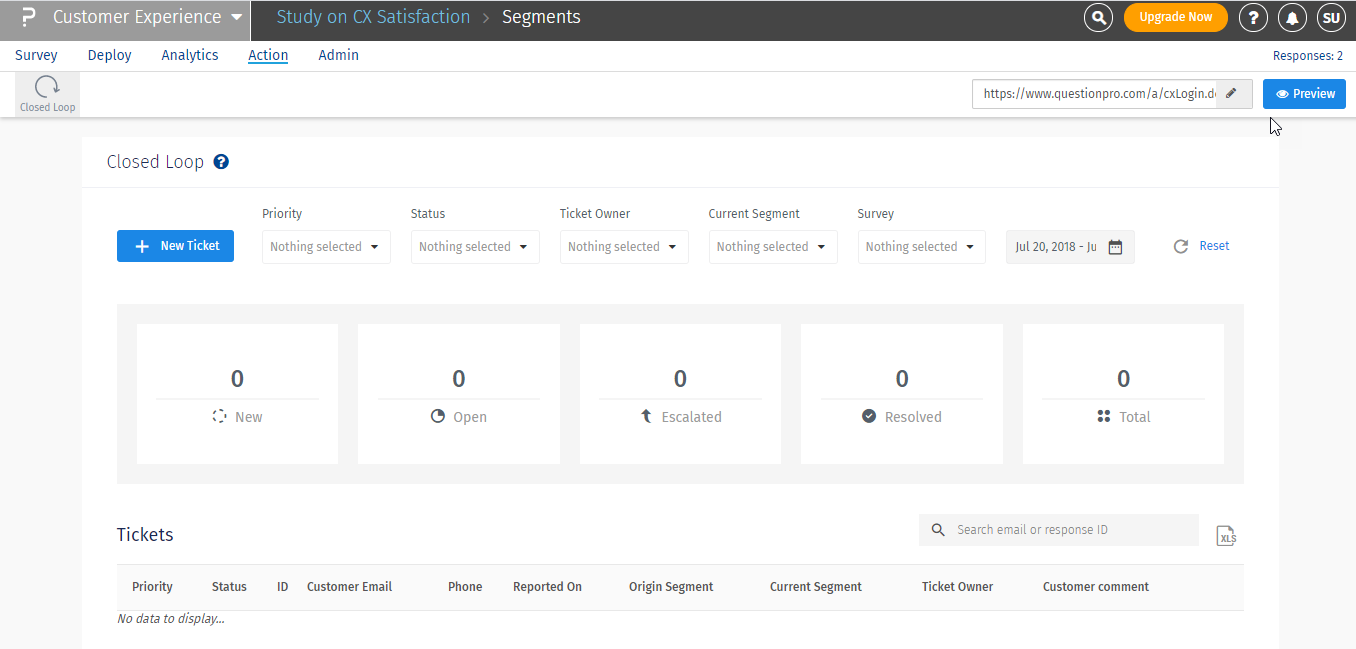
- Action: The action menu consists of the closed loop ticketing details. You can view all the segments you have created and view the tickets of each segment.
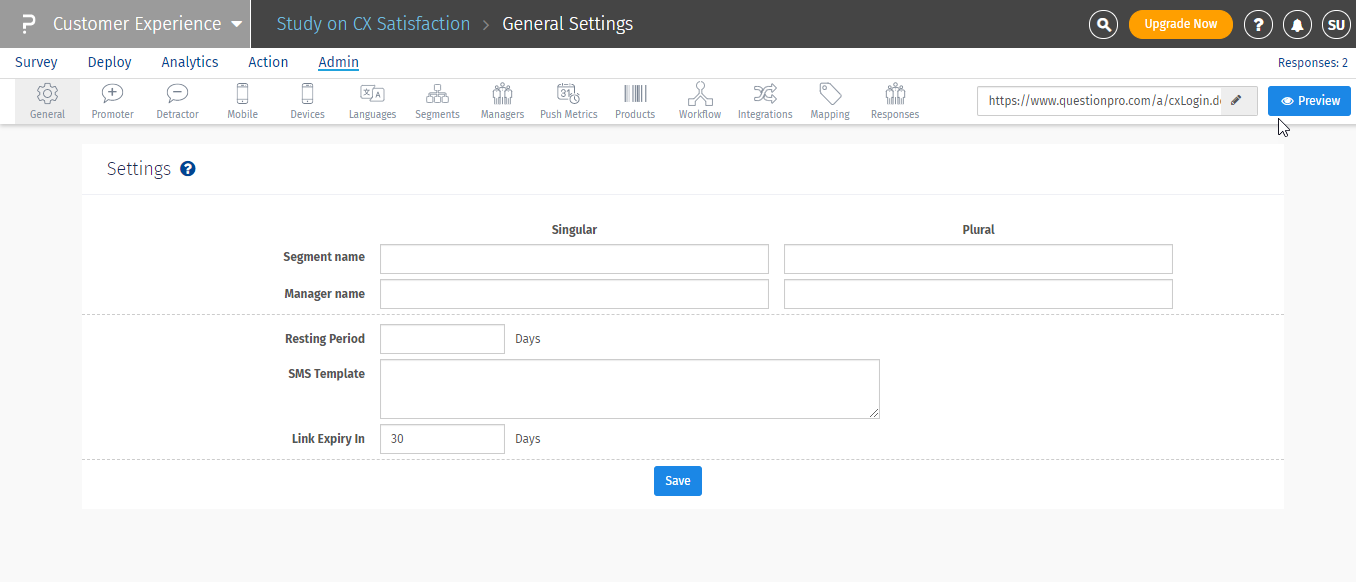
- Admin: This is an important menu item, which consists of various configurations that you need to do in your CX system.

Surveys, this menu item show the list of surveys (both email and intercepts) that you have created in your account. You can perform various actions on each of survey like change the survey status, copy, rename or delete the survey.

Deploy, this menu item consists of following sub-menu:
- Send: User can deploy the survey via SMS or Email or both options to either all customers or any segments specific customers.
- Survey Token: If you want your customers to take survey from your store, you can create survey token for various segments (stores) and use the survey token (link for the survey) in any handheld devices in your store.
- Templates: For each survey you can create multiple email or SMS templates under this sub-menu item.
- History: It shows the list of deployments made from the 'Send' menu.
- Export: With the export option, you can export the list of imported contacts and get the unique survey link for each of the contacts.

Analytics: Clicking on the Analytics, will take you to the CX dashboard where you can add widgets and analyse the data for your survey as well as segments.

Action: The action menu item consists, of Closed Loop sub menu. The closed loop page displays the list of all segments and count of tickets for each segment. You can click on the segment to view the ticket list and details.

Admin: There are several options under Admin menu. The list of which is as follows:
- General: This page consists of the general settings where you can rename the segments, managers, set the resting period rules.
- Promoter: The social amplification settings like Facebook, Twitter, Yelp, Trip Advisor are available on this page. You can turn these settings 'ON' to share the positive responses on these platforms.
- Detractor: Detractor settings are visible on this page.
- Mobile: For the offline survey data collection you can visit this page and turn the 'Offline Surveys' toggle ON. You can also set the access code for the CX Mobile app.
- Segments: The business data page is where you can set up your organization hierarchy.
- Contacts: From the contacts page, you can import the contacts into the CX system and can deploy survey to them.
- Managers: The manager page shows you the list of managers assigned to each of the segment. You can also import managers from this page through "Import Manager" button.
- Product: The list of product and product group imported through the contact list is visible on the Product page.
- Integrations: In the integrations page, you can access the FTP and API integration to automate the import of contacts and deployment of survey.


